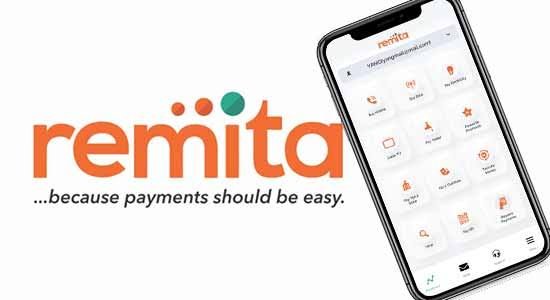
Managing money nowadays is not like it used to be, right? We’re not carrying around wads of cash anymore. Instead, we’re relying more and more on digital tools to handle our finances. And that’s where apps like Remita come in.
Have you ever wondered how to use the Remita app effectively? Well, you’re in the right place. In today’s fast-paced digital age, knowing how to use the Remita app is becoming increasingly essential.
It’s not just about convenience anymore; it’s about staying connected to the financial world in a way that’s secure and efficient. Whether you’re paying bills, sending money to family, or handling complex business transactions, digital payment solutions are transforming how we interact with our finances.
The Remita app has emerged as a major player in this digital revolution, especially in Nigeria. It offers a comprehensive platform for various financial transactions, simplifying everything from everyday payments to more complex international transfers.
But with so many features packed into one app, it can sometimes feel a bit overwhelming to know where to start. That’s precisely why I’ve put together this guide. The goal is to break down exactly how to use the Remita app, making it easy for anyone, regardless of their tech savvyness, to navigate its features.
This isn’t just a dry, technical manual. I want to show you how to use the Remita app to its full potential. We’ll explore everything from the basics of setting up your account to the more advanced functionalities like generating Remita Retrieval References (RRR) for government payments and managing international transactions.
We’ll also cover tips and tricks to make your experience with the Remita app as smooth as possible. So, whether you’re a seasoned user looking to brush up on your skills or a complete newbie just trying to figure out how to use the Remita app for the first time, this guide will provide you with the information you need.
We’ll explore how the Remita app can streamline your financial life, both locally and internationally, making managing your money easier and more secure. This article will be your go-to resource on how to use the Remita app effectively.
Table of Contents
Understanding the Remita App
The Remita app is an innovative payment platform developed by SystemSpecs, designed to facilitate easy payments and collections across various sectors.
Features and Functionalities: The app allows users to manage multiple bank accounts from a single interface, making it easy to send money, pay bills, and receive payments. Key features include:
Multi-Bank Management: Users can view balances from different banks in one place.
Bill Payments: Effortlessly pay utility bills, school fees, and taxes without visiting a bank.
Transaction Requests: Users can request payments via QR codes or share invoices electronically.
The Remita app caters to various user types, including:
- Individuals: For personal transactions such as bill payments and money transfers.
- Businesses: To manage payroll, invoicing, and customer payments.
- Government Agencies: For tax collection and public service payments.
- Security Measures in Place: Security is paramount in financial transactions. The Remita app employs advanced encryption protocols like SSL/TLS to protect user data. Additionally, it utilizes multi-factor authentication (MFA) to ensure that only authorized users can access their accounts.
Related: How to Use the JumiaPay App on Mobile: A Complete Guide for Users
Getting Started with Remita
Before diving into transactions, you need to set up the Remita app on your device.
Steps to Download and Install the Remita App:
The app is available on both iOS and Android platforms. Simply search for “Remita” in the Google Play Store or Apple App Store and click “Download.”
Creating an Account:
To register, you will need basic information such as your name, email address, phone number, and bank details. Once you’ve filled out the registration form, you will receive a verification code via SMS or email to confirm your account.
Linking Bank Accounts and Cards:
Once your account is created, it’s time to personalize your profile for optimal use. You can link multiple bank accounts from various financial institutions. Supported banks include major Nigerian banks like Access Bank, Zenith Bank, FCMB, among others. To add an account:
1. Log into your Remita account.
2. Navigate to “Add Account” under the administration menu.
3. Enter your bank details and confirm.
Customizing User Settings:
Adjust notification preferences for transaction alerts and updates to stay informed about your financial activities.
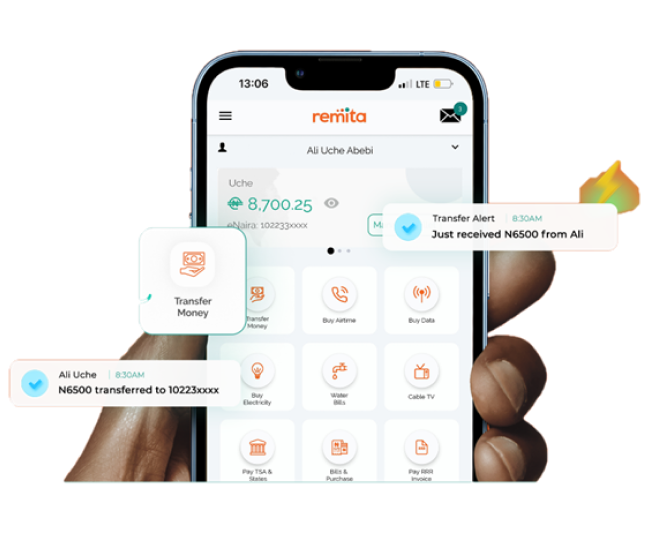
How to Use the Remita App for Local Transactions
The Remita app simplifies local transactions significantly.
Making Payments:
To make a payment:
1. Open the app and log in.
2. Select “Payments” from the menu.
3. Choose the type of payment (e.g., bills or transfers).
4. Enter the recipient’s details and amount.
5. Confirm the transaction.
Generating RRR (Remita Retrieval Reference):
The RRR is essential for tracking payments made through Remita. To generate an RRR:
1. Go to “Generate RRR” in the app.
2. Fill out the required details based on the type of payment.
3. Submit the form; your RRR will be generated instantly.
How to Use the Remita App for International Transactions
The Remita app also facilitates international transactions with ease.
Overview of International Transaction Capabilities:
Users can send money abroad using various currency options while benefiting from competitive exchange rates.
Steps to Send Money Internationally Using Remita:
To initiate an international transfer:
1. Log into your account.
2. Select “International Transfer.”
3. Enter the recipient’s details along with their bank information.
4. Choose your currency conversion options; be aware of any fees involved.
5. Confirm the transaction after reviewing all details.
Managing Transactions with Remita
Managing your transactions is straightforward with Remita’s intuitive interface.
Viewing Transaction History and Receipts:
Access your transaction history by navigating to “Transaction History” in the menu. Here you can view all past transactions along with downloadable e-receipts for record-keeping.
Setting Up Standing Orders for Recurring Payments:
Automate regular payments by setting up standing orders within the app:
1. Go to “Standing Orders.”
2. Fill out the necessary details for recurring payments.
3. Confirm your setup; this feature helps ensure you never miss a payment due date.
Related: A Step-by-Step Guide on How to Use the Bankly App
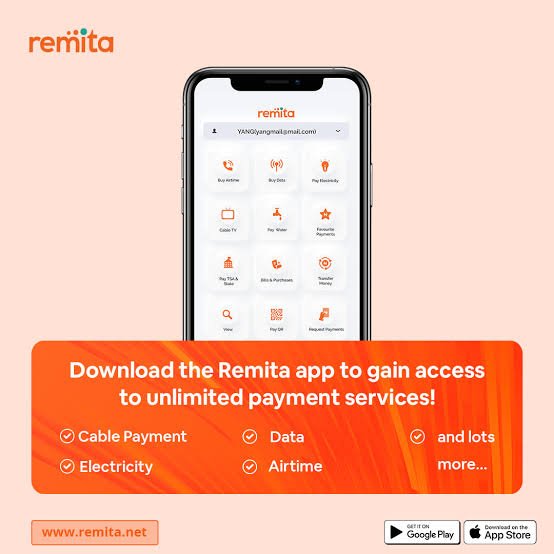
Additional Features of the Remita App
Beyond basic transactions, the Remita app offers several additional features that enhance user experience.
E-invoicing:
Create and send electronic invoices directly through the app by entering service details and recipient information before sharing via email or social media.
Expense Management:
Utilize built-in tools for tracking expenses and budgeting effectively within the app’s dashboard.
Airtime/Data Top-Up:
Quickly purchase airtime or data bundles directly from your linked accounts without needing separate apps or services.
Vendor Payment File Uploads:
Businesses can format and upload vendor payment files (E-cheques) easily through Remita’s interface for streamlined processing.
Troubleshooting Common Issues
While using any digital platform may come with challenges, knowing how to troubleshoot common issues enhances user experience.
Common Problems Users May Encounter While Using the App:
- Login issues due to forgotten passwords or incorrect credentials are common but easily resolved by using password recovery options.
- Payment failures might occur due to insufficient funds or network issues; always check connectivity before retrying transactions.
How to Contact Customer Support for Assistance:
If problems persist, contact customer support through the app’s help section or visit their official website for more resources.
Conclusion
The Remita app revolutionizes how users conduct both local and international transactions by providing a secure, efficient platform that caters to various financial needs.
With features ranging from bill payments to international transfers, users are encouraged to explore all aspects of this versatile application fully.
Embracing digital payment solutions like Remita not only simplifies everyday financial tasks but also enhances overall financial management in today’s economy.
Frequently Asked Questions
1. What devices support the Remita app?
The Remita app is on both Android and iOS devices, making it accessible for most smartphone users.
2. Is my financial information safe when using Remita?
Yes, the Remita app employs advanced security measures such as encryption and multi-factor authentication to safeguard user data against unauthorized access.
3. Can I use Remita for business transactions?
Absolutely! The app is designed for individuals as well as businesses, allowing seamless management of payrolls, invoicing, and other business-related payments.
4. Are there fees associated with using the Remita app?
Yes, while many services are free of charge, certain transactions may incur fees depending on whether they are local or international transfers; it’s best to check within the app for specific rates before proceeding with any transaction.
Recommendations
Beginners Guide on How to Use Interswitch For Transactions
A Comprehensive Guide on How to Use the Yoco App for Seamless Transactions


